Install the Checkify WordPress plugin, connect your site by scanning a QR code, then choose where your Checkify Pass should appear.
Use Checkify with WooCommerce checkout, signup gates, forms, comments, or custom pages. Create a Checkify Pass ID in the app or business panel, then paste it into the WordPress plugin.
Start with one gate, such as WooCommerce checkout or signup, then expand when ready.
The plugin connects your WordPress site to Checkify, then lets you choose where Checkify Passes should be shown.
Add Checkify from your WordPress admin panel or upload the plugin ZIP provided by Checkify.
Open Checkify in the WordPress left panel and scan the QR code to connect your site to Checkify.
Select the gate you need, such as WooCommerce checkout, signup, login, forms, or custom selectors.
Install only from these checkify.me URLs. Each ZIP includes a SHA-256 checksum so you can verify the file before uploading to WordPress.
Required for every Checkify WordPress integration. Connect your site, store your Pass ID, and power feature plugins.
de3b1d15672cb2513df4e43c3bebde64cc43911747da924b7e2ce38dc358b2f5
After downloading, run: shasum -a 256 your-file.zip (macOS/Linux) or CertUtil -hashfile your-file.zip SHA256 (Windows). The hash must match exactly.
Age verification for WooCommerce checkout, cart, or your entire storefront. Requires Connector and WooCommerce.
6df9a5ab189e7a9ea3f05673d10ba36bf69da1f19f8778ae484804be192f250c
After downloading, run: shasum -a 256 your-file.zip (macOS/Linux) or CertUtil -hashfile your-file.zip SHA256 (Windows). The hash must match exactly.
Also available on WordPress.org
Human verification on WordPress login and registration. Requires Connector.
d0dfd52636a22853609092b8ad33716f288b3d412f322a9b816a4e65c6ea2e82
After downloading, run: shasum -a 256 your-file.zip (macOS/Linux) or CertUtil -hashfile your-file.zip SHA256 (Windows). The hash must match exactly.
Require Checkify verification before comments are posted. Requires Connector.
129f886d0a347869af00330367f9fa4424f9af877dfa83855127461179e59949
After downloading, run: shasum -a 256 your-file.zip (macOS/Linux) or CertUtil -hashfile your-file.zip SHA256 (Windows). The hash must match exactly.
Human verification before Contact Form 7 submissions are sent. Requires Connector and CF7.
c17db0cc54cc3e15b9d17a37e0b5bbab4667e40aafaa1d18d1b5e70d470d3d44
After downloading, run: shasum -a 256 your-file.zip (macOS/Linux) or CertUtil -hashfile your-file.zip SHA256 (Windows). The hash must match exactly.
Protect pages or posts with a Checkify verification gate. Requires Connector.
a8c9c28dd93841637b61e6393fddbce4690d1a8e1c6022a1c18414a695dddab1
After downloading, run: shasum -a 256 your-file.zip (macOS/Linux) or CertUtil -hashfile your-file.zip SHA256 (Windows). The hash must match exactly.
Follow the step-by-step guide below to install the plugin, connect your site, and add your first Checkify Pass. A narrated video walkthrough is coming soon.
View setup stepsFollow these steps to install the plugin, connect your site, choose your gate, and add your Checkify Pass ID.
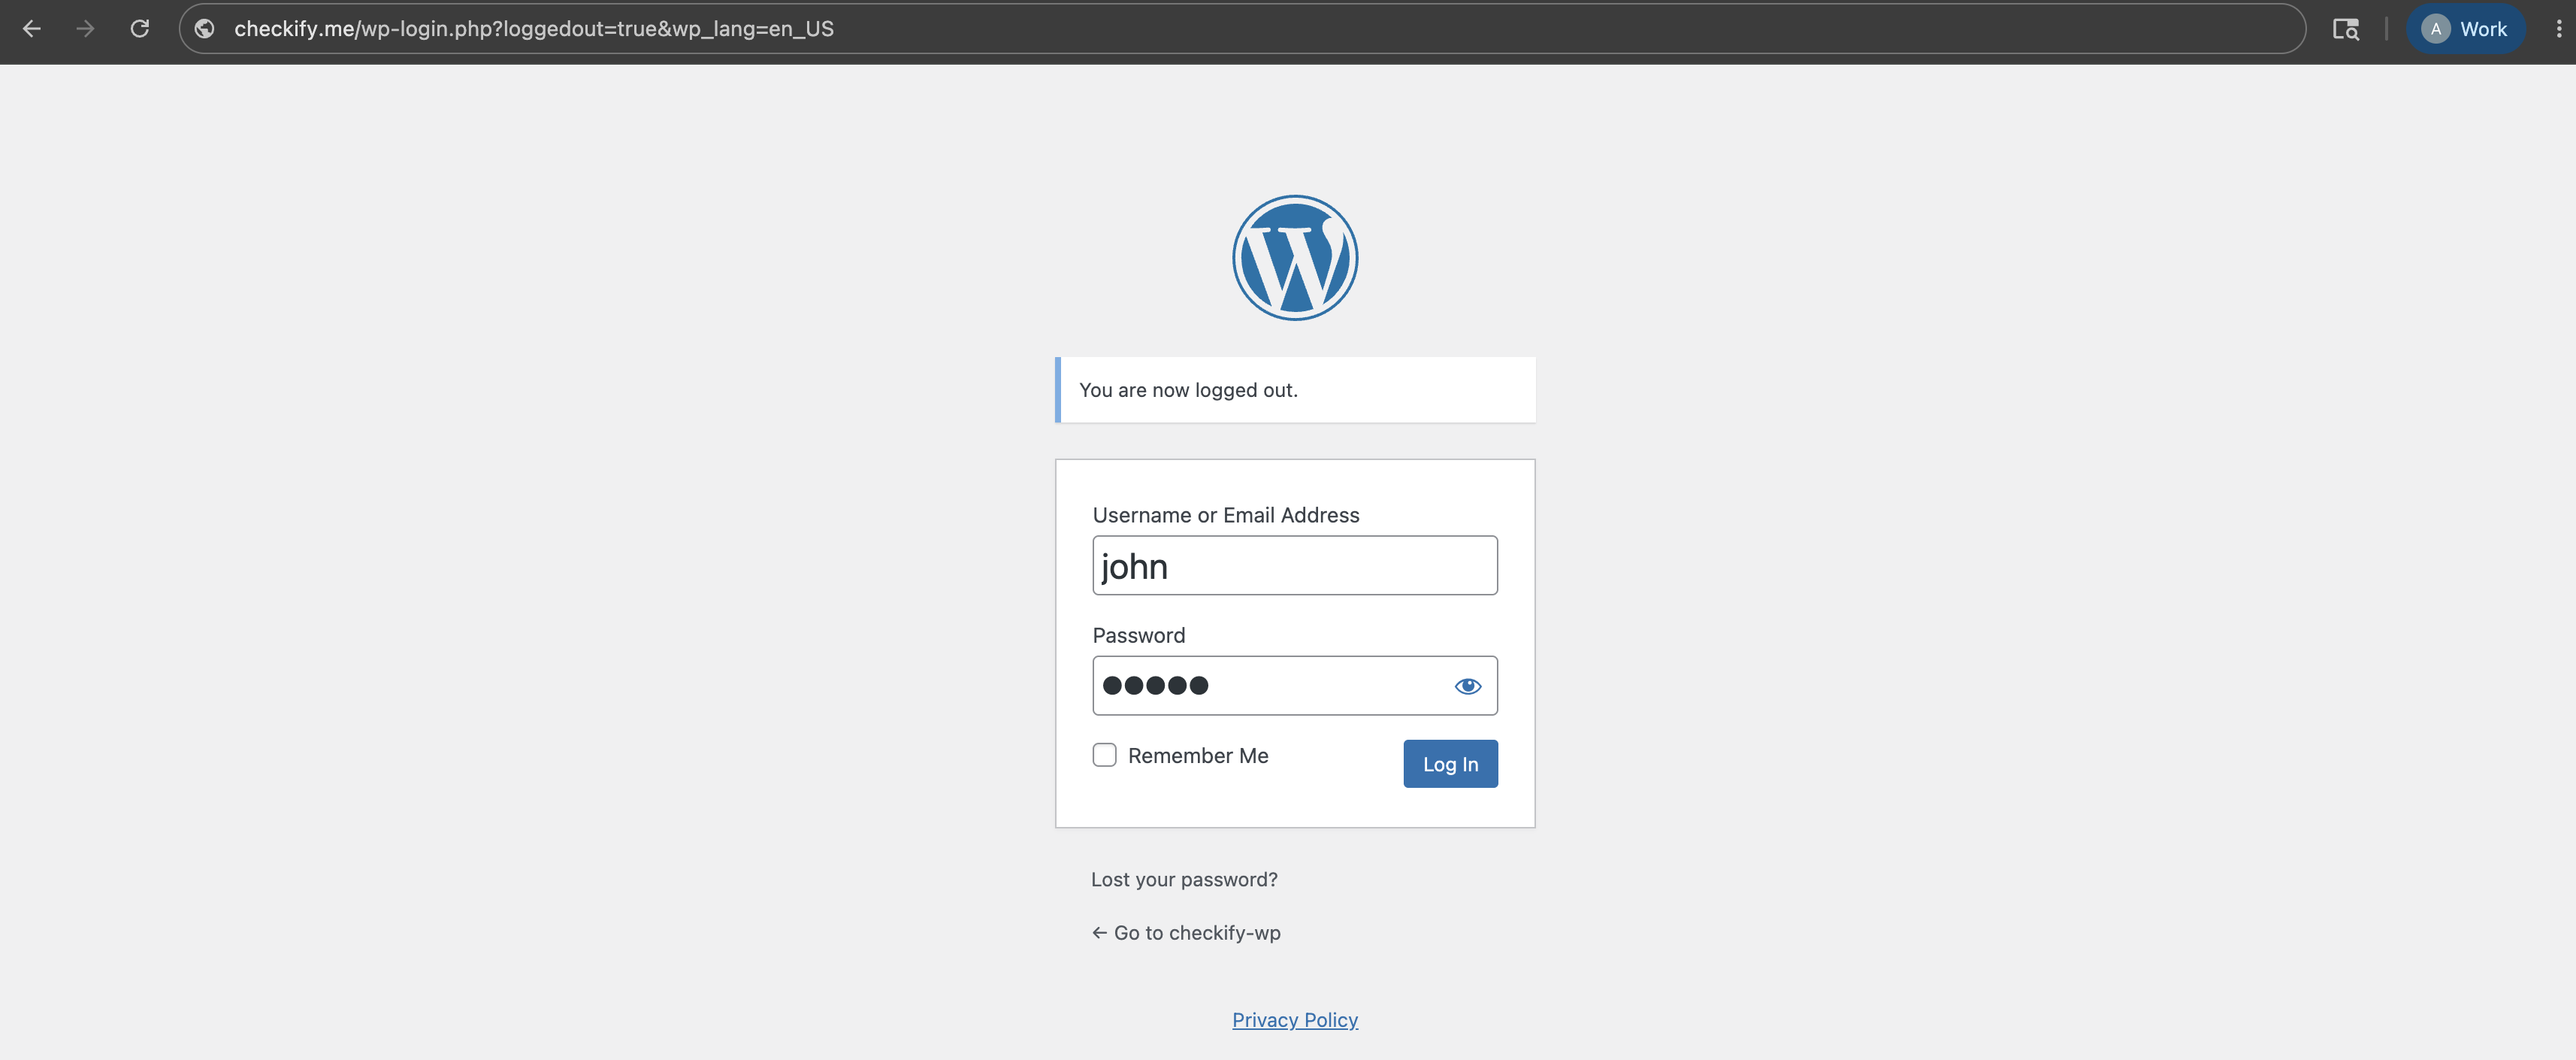
Step 1
Start by logging in to your WordPress admin dashboard. This is usually found at your website address followed by /wp-admin.
Step 2
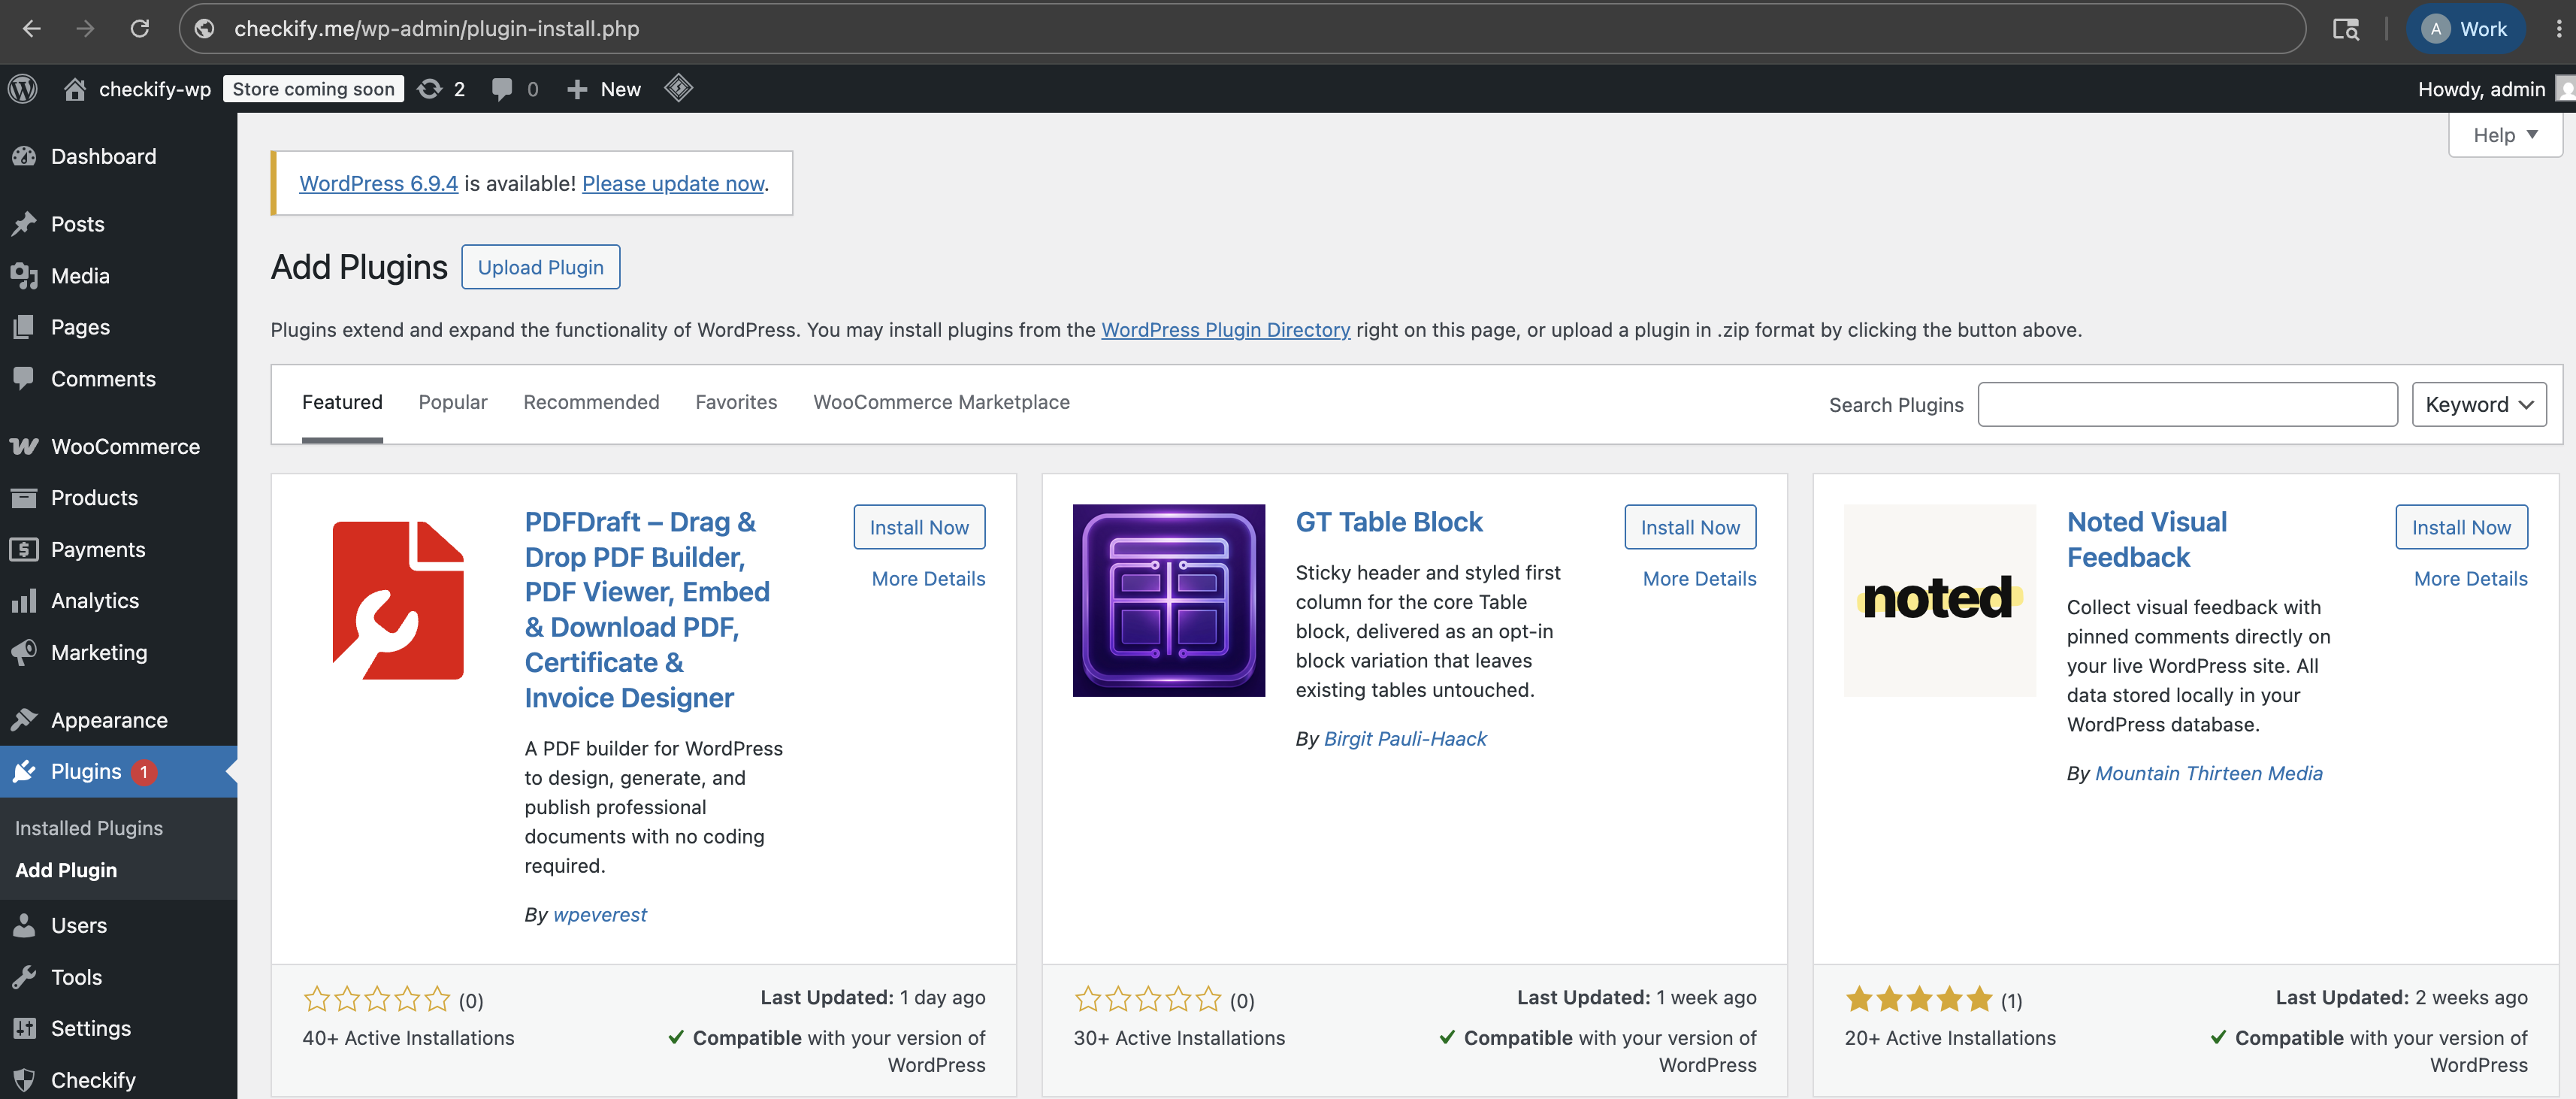
In the left-hand WordPress menu, open Plugins, then choose Add Plugin.
Step 3
Search for Checkify in the WordPress plugin directory. If you have received the plugin directly from Checkify, upload the ZIP file instead.

Step 4
Under Plugins, open Installed Plugins and make sure the Checkify plugin is active.

Step 5
Once the plugin is active, a Checkify menu item appears in the WordPress left panel. Open it to start connecting your site.

Step 6
The Checkify plugin shows a QR code. Scan it with Checkify to connect your WordPress site to your Checkify account.
Once connected, your WordPress site is linked through the Checkify connector.
Your WordPress site is now connected to Checkify and ready to use Checkify Passes.

Step 7
Search for the gate you need inside the Checkify plugin. For example, you might choose a WooCommerce checkout gate, signup gate, login gate, form gate, or custom selector.

Step 8
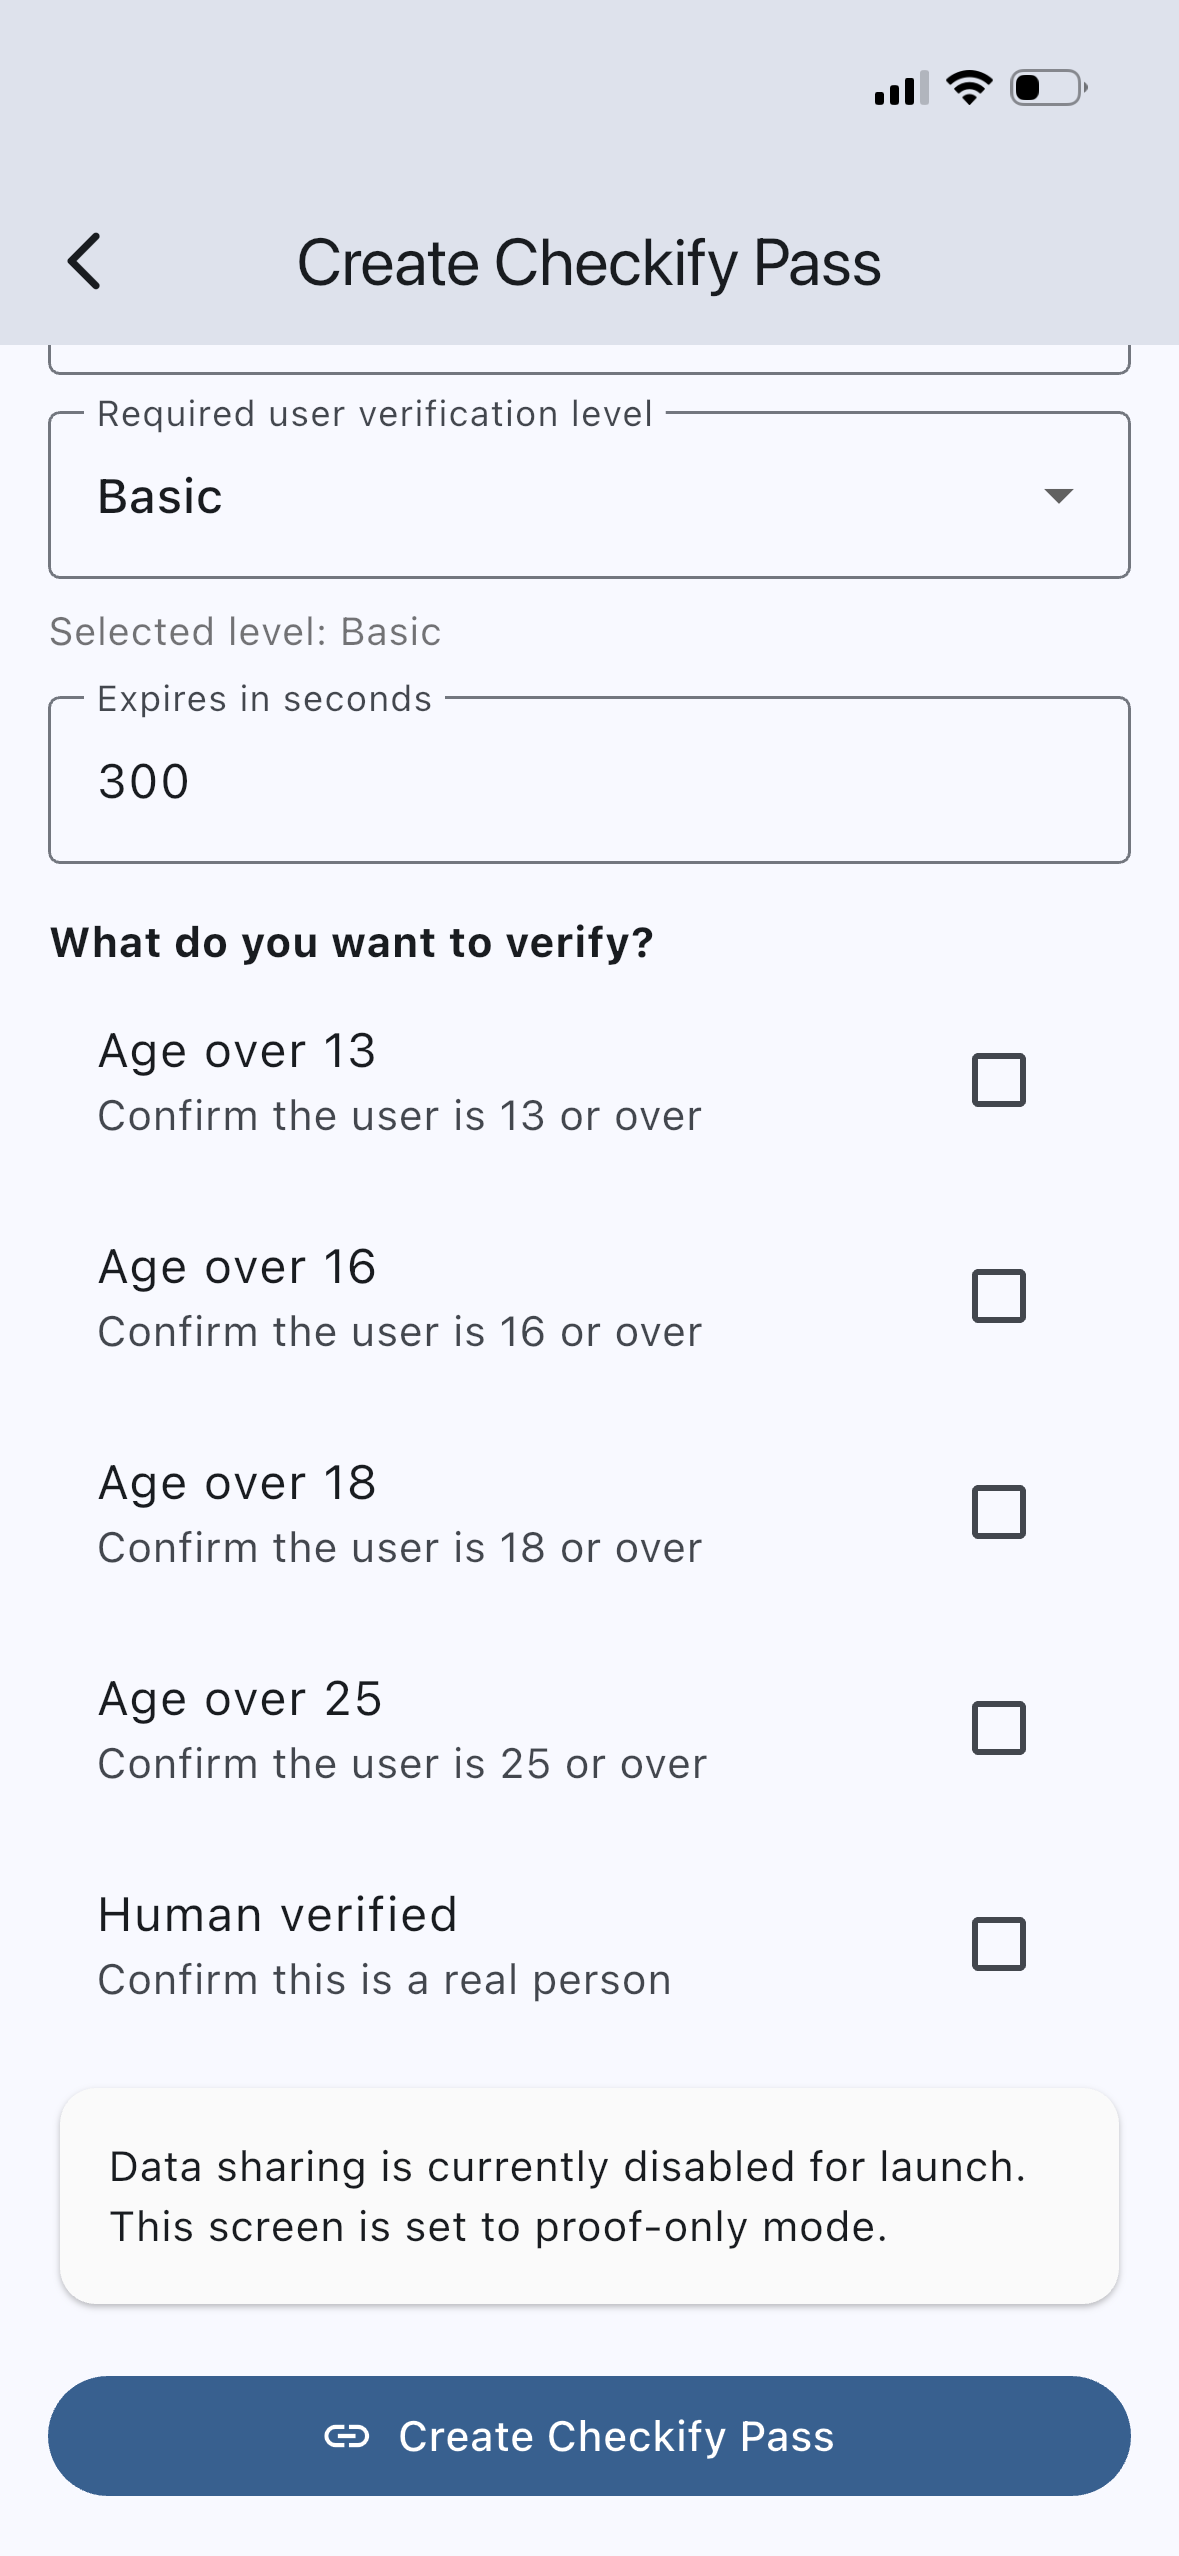
Create a Checkify Pass either in the Checkify app or in the business panel. The Pass defines the proof request, such as human verification, over 18, or multiple proofs together.
“Before checkout, confirm this user is human and over 18.”
Step 9
Open the selected gate in the Checkify WordPress plugin and paste the Checkify Pass ID into the plugin details page.
The plugin will use that Pass ID whenever the selected gate is triggered.
Checkify Pass ID: YOUR_CHECKIFY_PASS_ID

Step 10
Enable the selected gate and test it on your WordPress site. When a user reaches that flow, Checkify will show the correct Pass request.
Steps 1–10 cover Checkify Connector only. Each plugin adds its own gate — install the plugin you need and follow its dedicated setup guide.
Age verification at checkout, on cart pages, or across your entire storefront. Supports category restrictions and block checkout.
WooCommerce setup guide →Human verification on WordPress login and registration flows.
Download plugin →Gate comments behind a Checkify Pass before they are posted.
Download plugin →Require verification before Contact Form 7 submissions are sent.
Download plugin →Protect selected pages or posts with a Checkify verification gate.
Download plugin →Install the plugin, connect your site, choose a gate, and add your Checkify Pass ID.